Blog
How to add Google Analytics to your website + Turn On Enhanced eCommerce
Published 8/5/2021
Reading Time: 5 minutes
Google Analytics is a billion dollar software that you can install and use on your website for free!
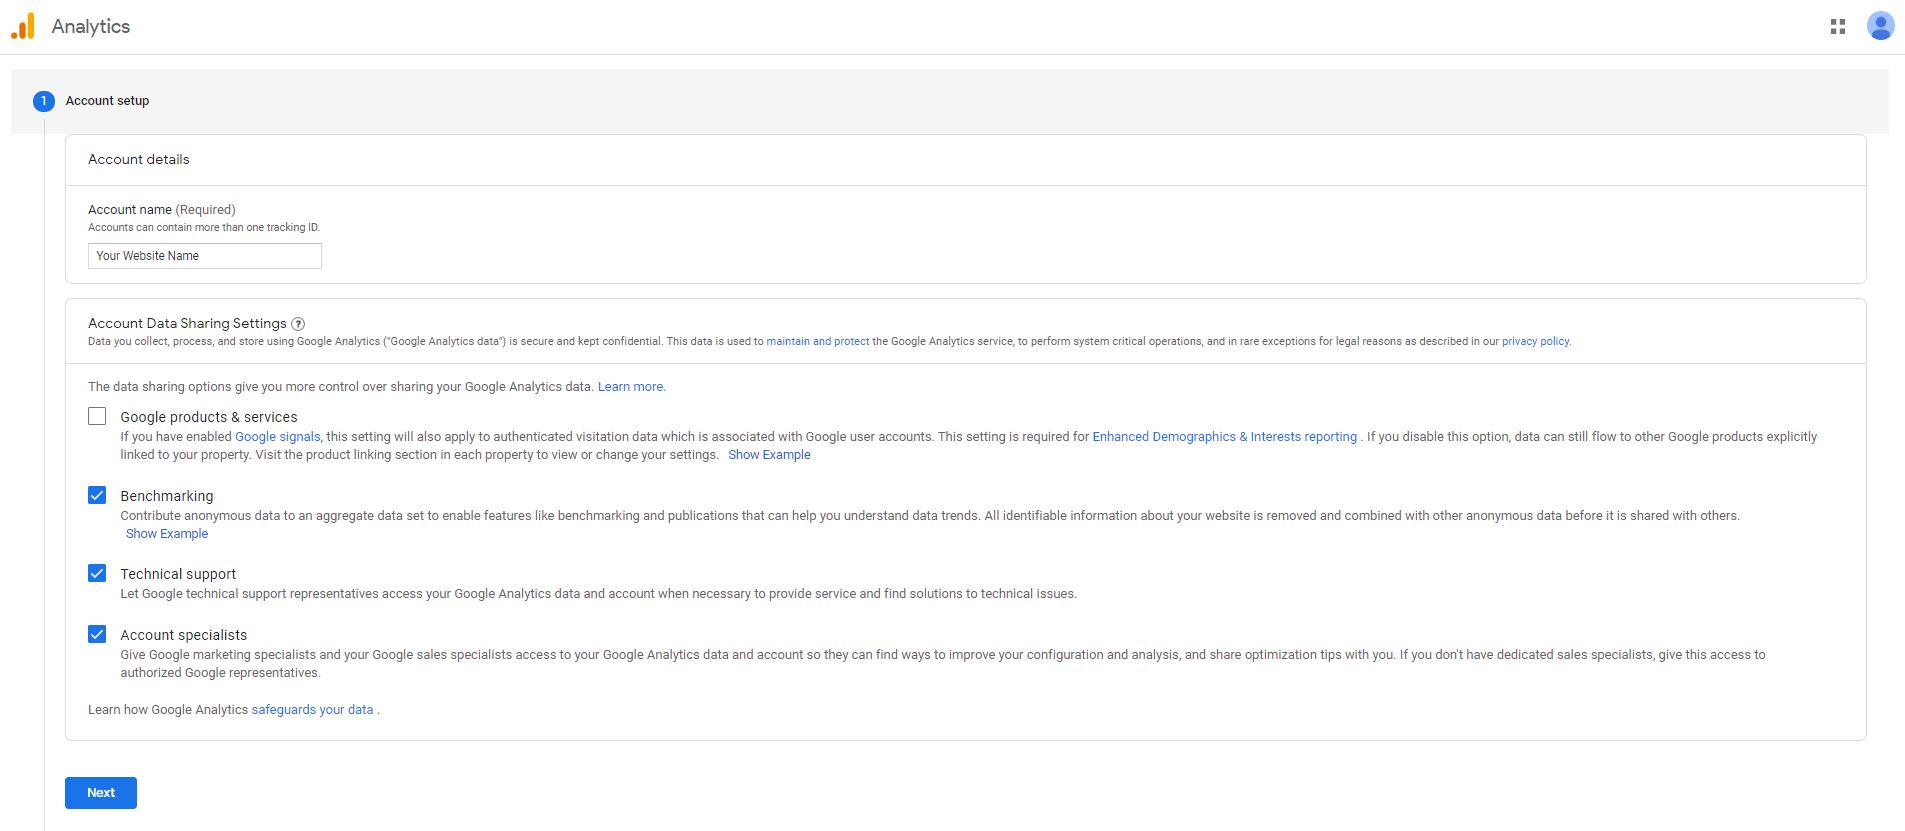
- Create a Google Analytics account
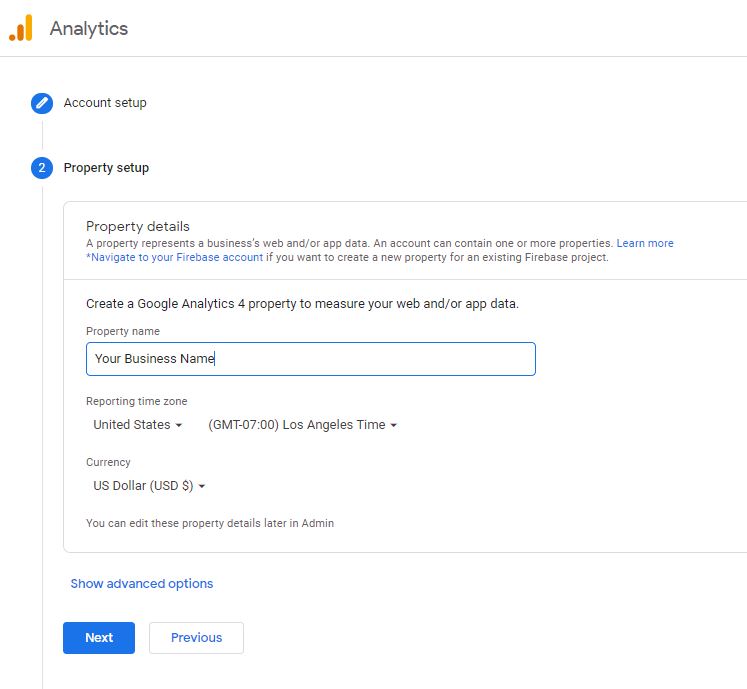
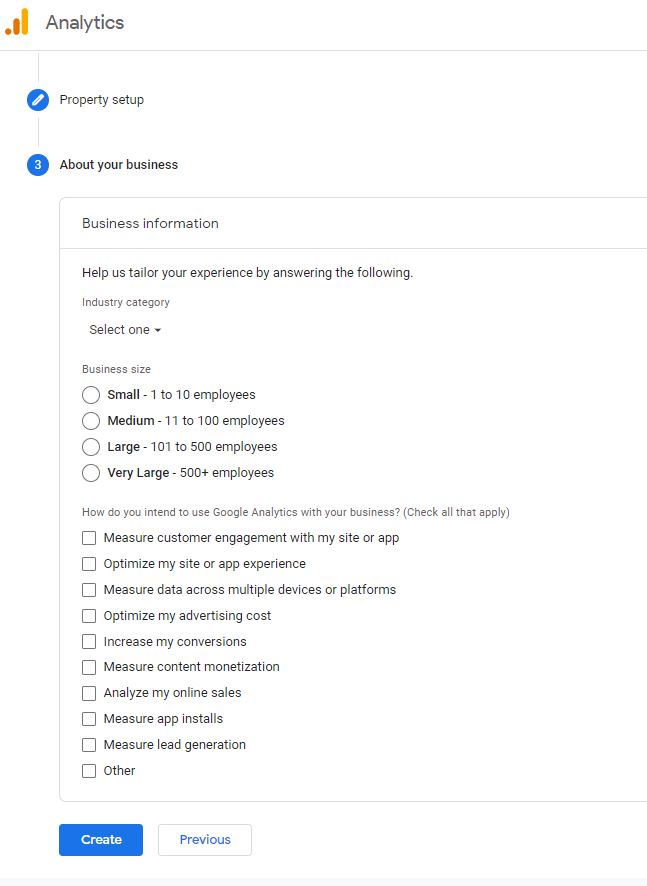
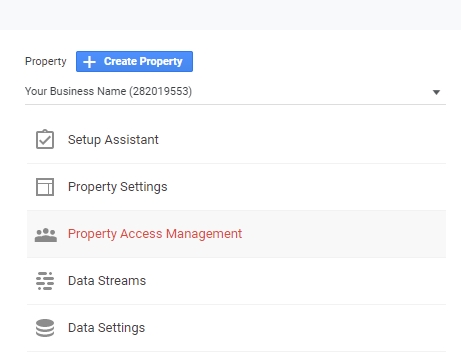
- Create Google Analytics Property
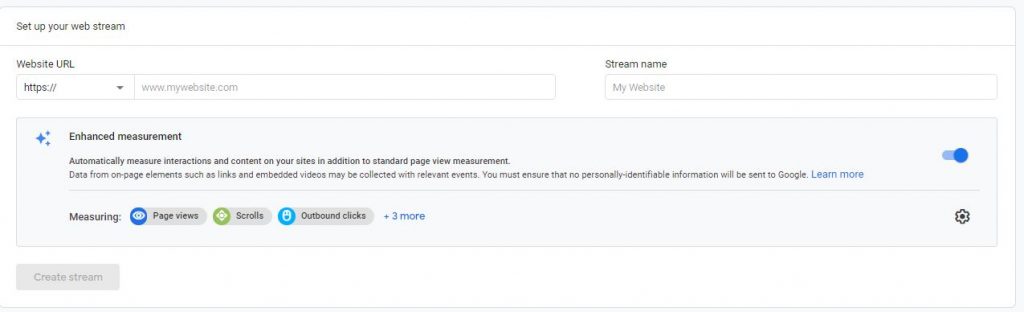
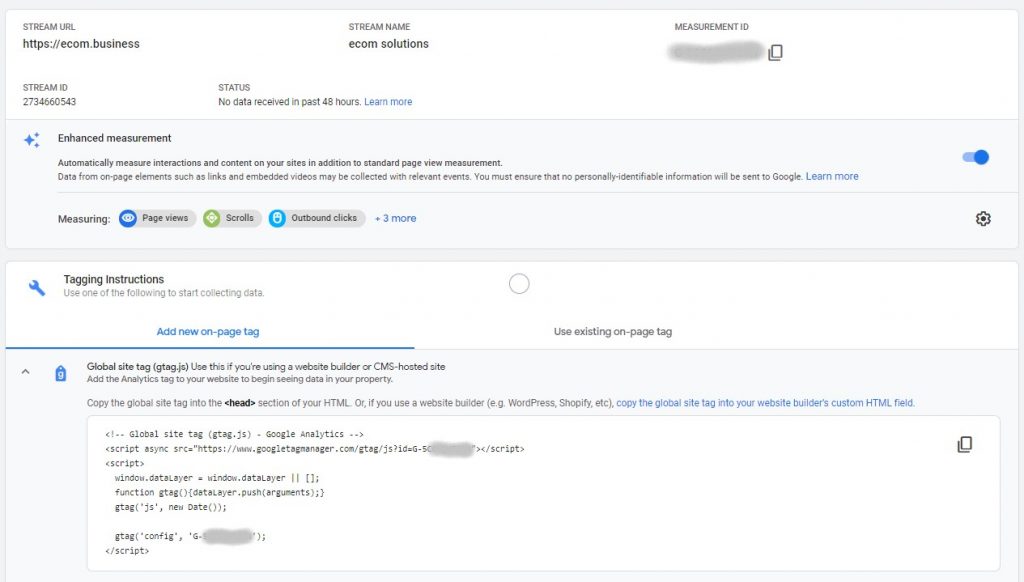
- How to find your tracking ID and Global Site Tag
- How to turn on enhanced eCommerce (if using selling products/services online)
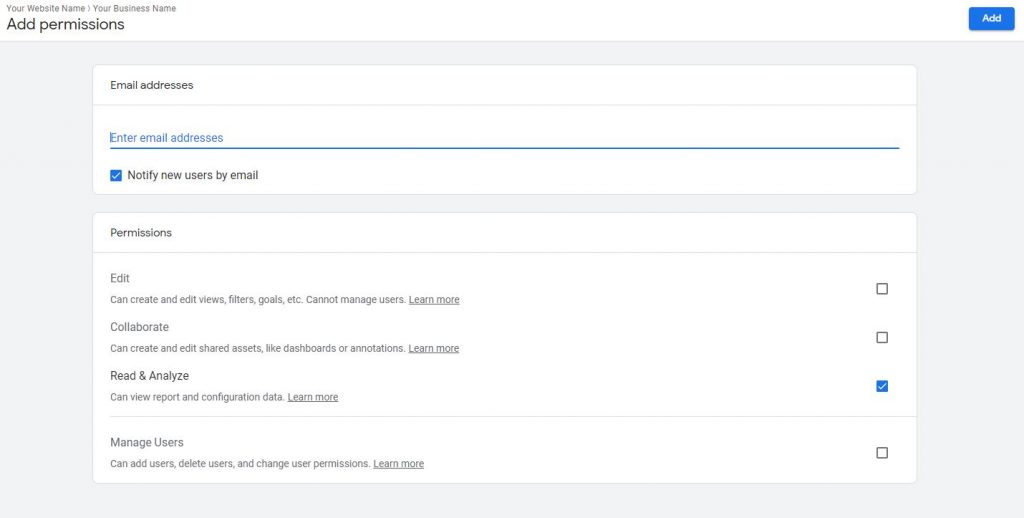
- How to add additional users to your Google Analytics property
Below we go over how to add Google Analytics to your website. If your using a platform such as; WordPress, Shopify, Squarespace, Wix, etc, they offer either a module or plugin that will add this code for you. All you will need is the tracking ID, which we point out below.